- Hyland Connect
- Content Management
- Alfresco
- Alfresco Blog
- Rest Call Task 101
- Subscribe to RSS Feed
- Mark as New
- Mark as Read
- Bookmark
- Subscribe
- Printer Friendly Page
- Report Inappropriate Content
The easiest way to integrate Alfresco Process Services with other systems is by using REST calls. Alfresco Process Services allows you to make calls as part of a process or to populate form controls, such as a dropdown list of values. I’m going to take you through a really simple example that you can download and try yourself - all you need is a current version of the product and a few minutes. Or, if life is too short, you can watch a short video here.
The first thing we’ll do is get the example App imported into Alfresco Process Services. There’s a zip here that was created with Alfresco Process Services 1.6 that you can download and import. To load it, go into App Designer from your landing page
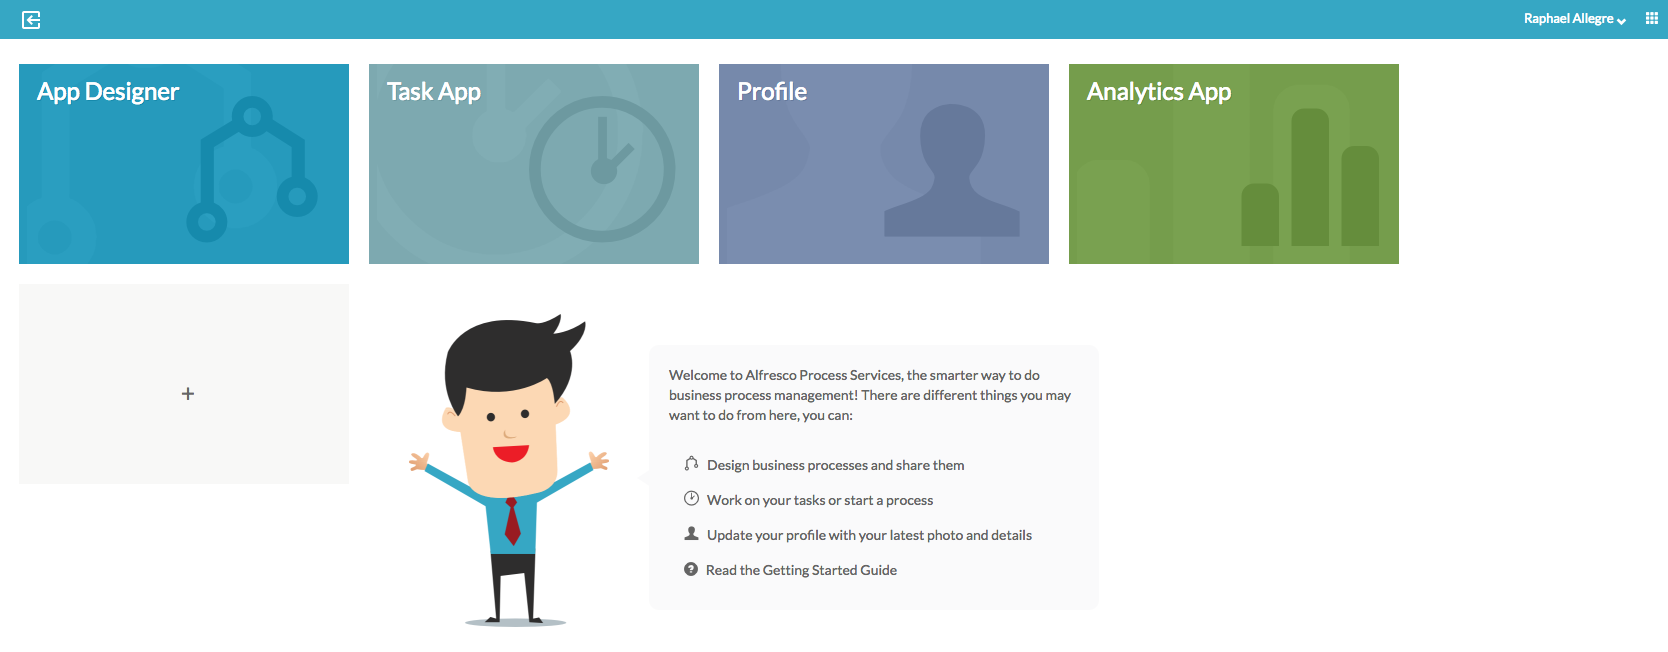
Navigate to the Apps page.
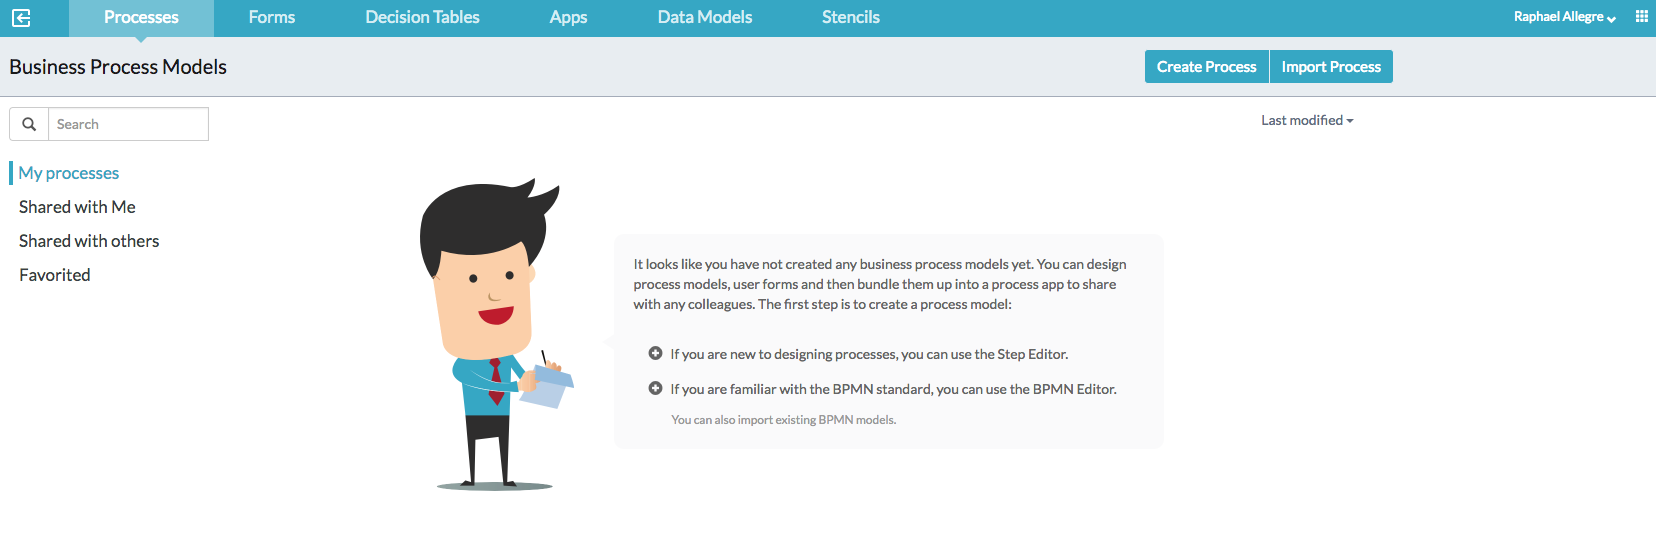
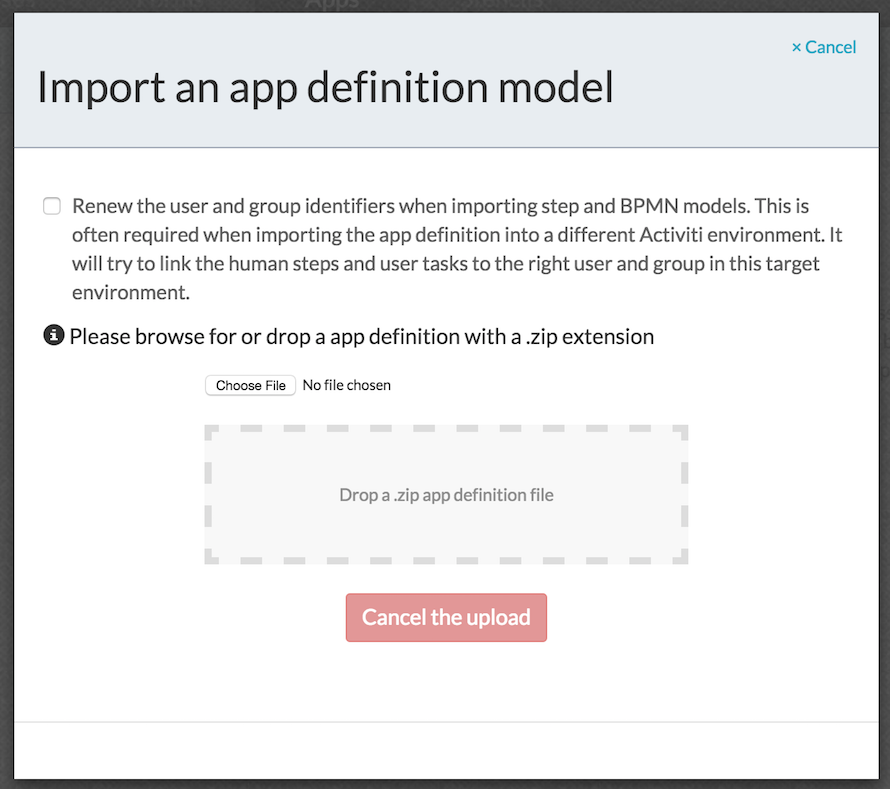
And click the Import button.
On this dialog, navigate to where you downloaded the zip above and select it. If successful, the dialog will close and you’ll be taken to the App details for the just imported Process App.
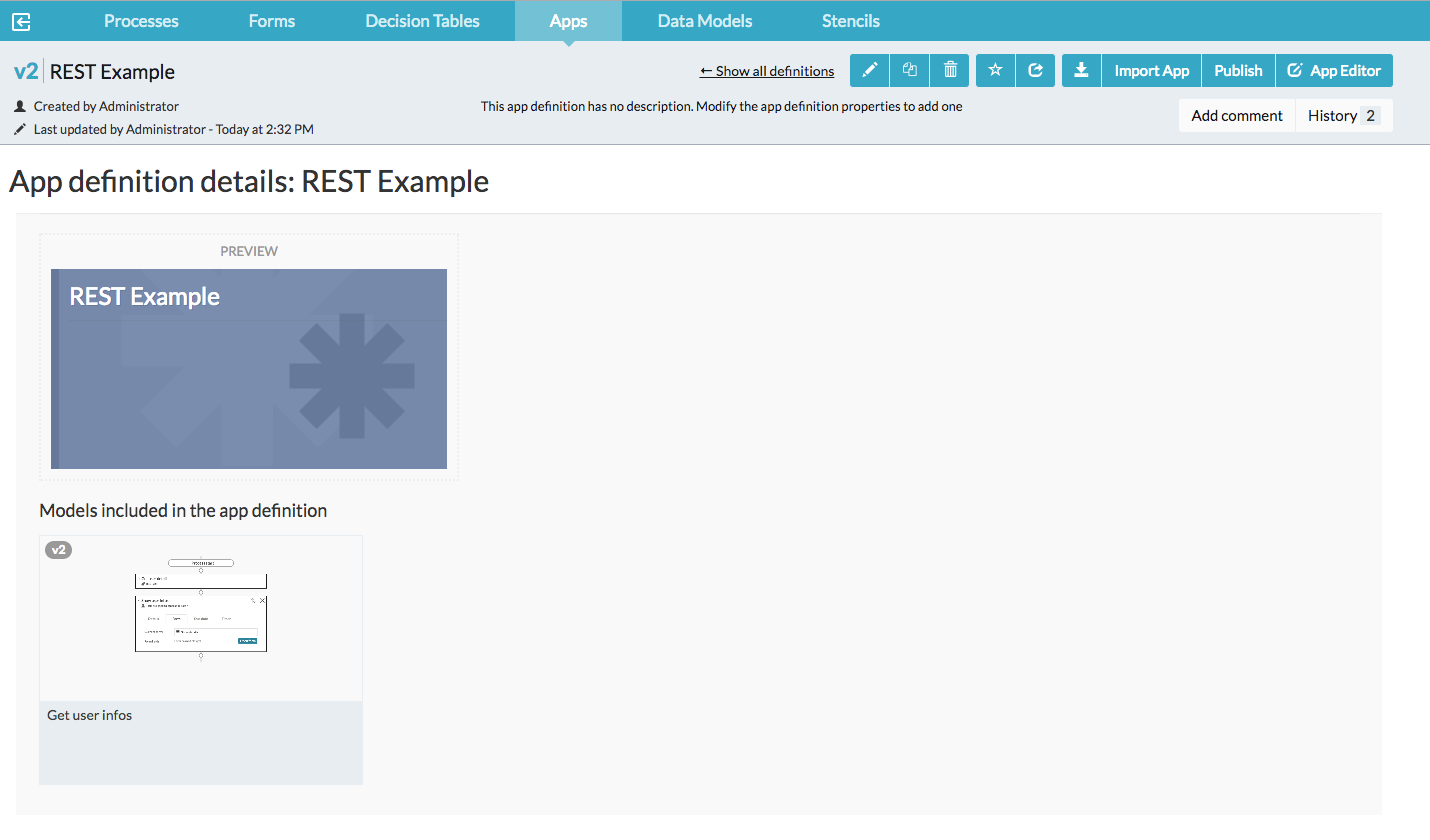
You can see there’s just one process model in this Process App.

Click on the Edit icon to open the model in the Step Editor.
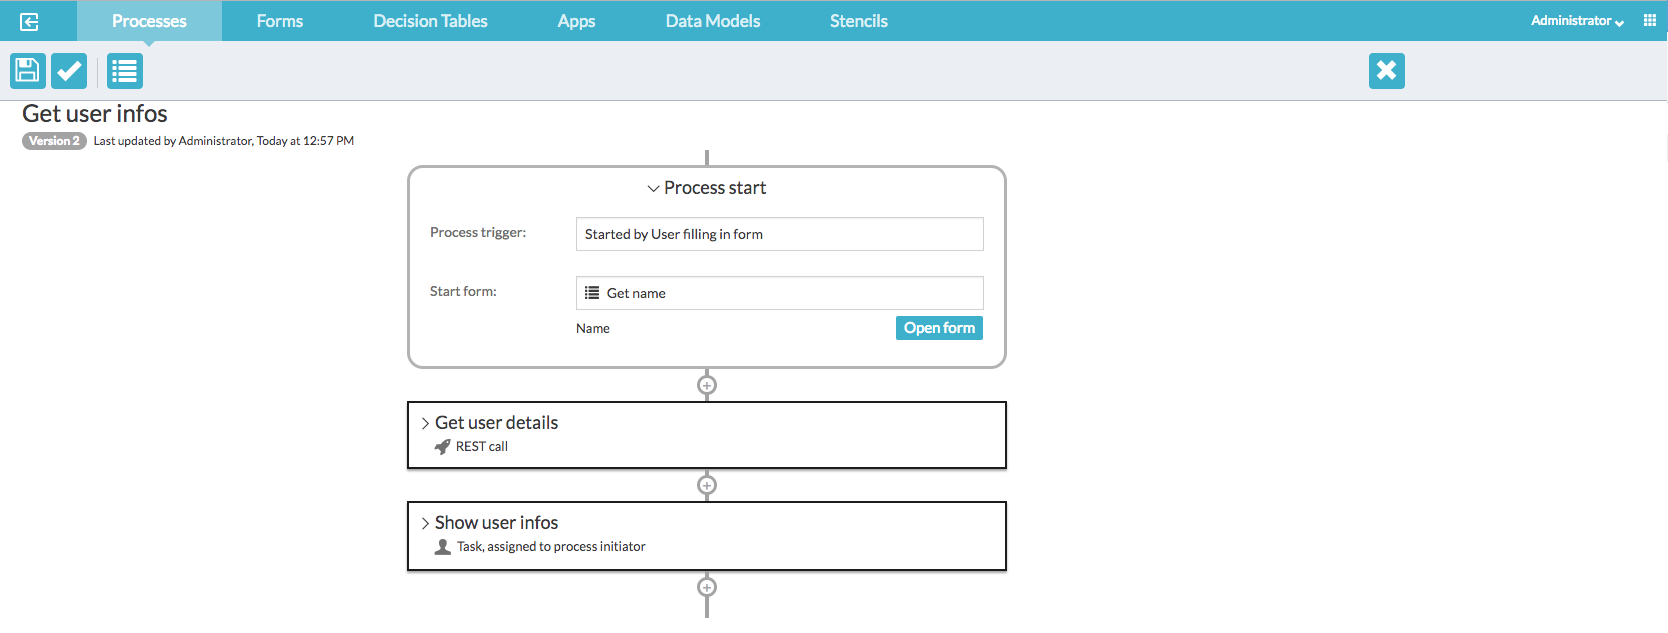
There’s 2 steps after the initial start form. Click Open form in the start event to see the details of the form.
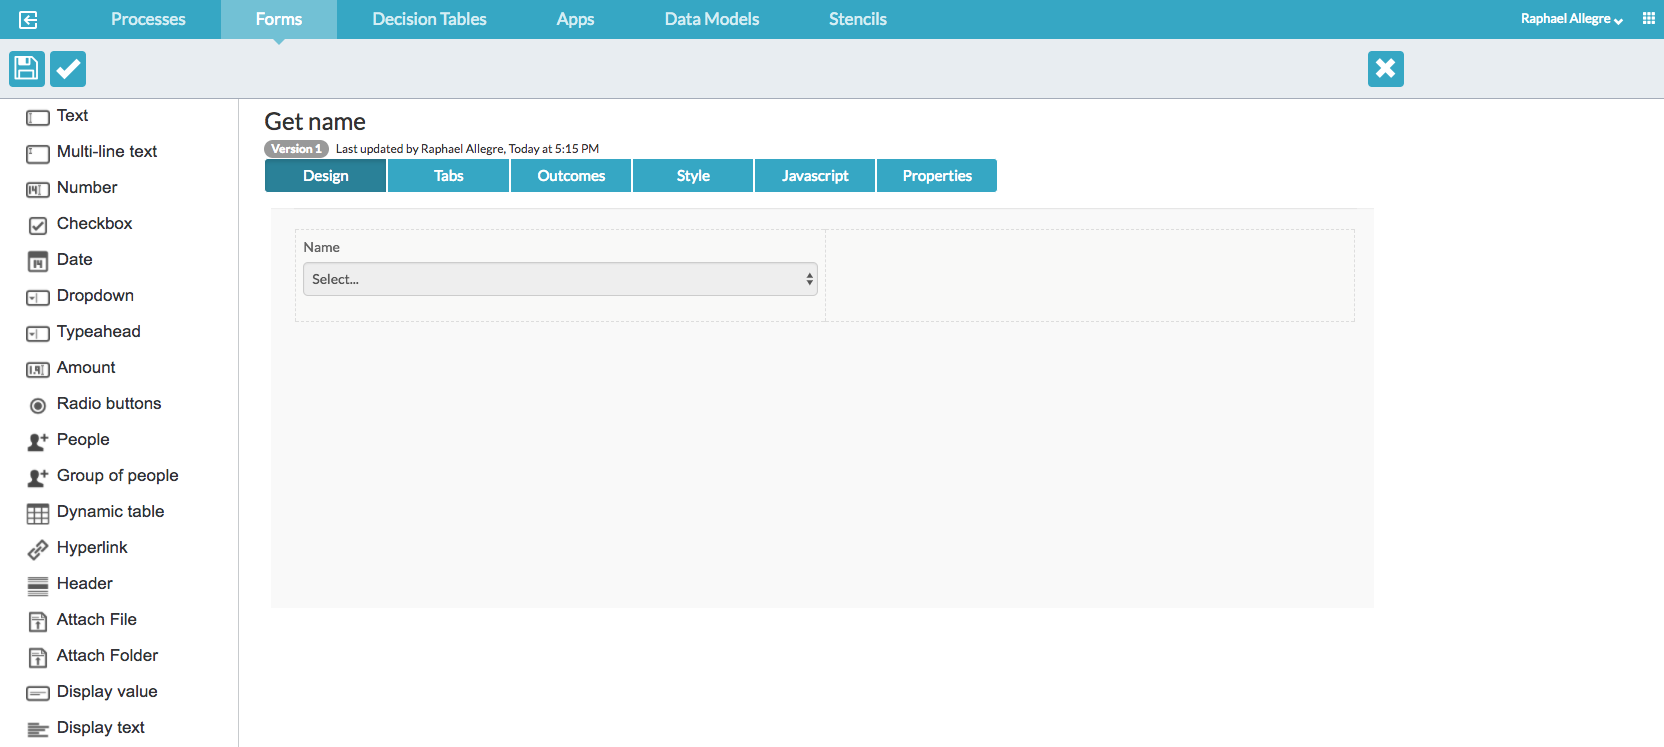
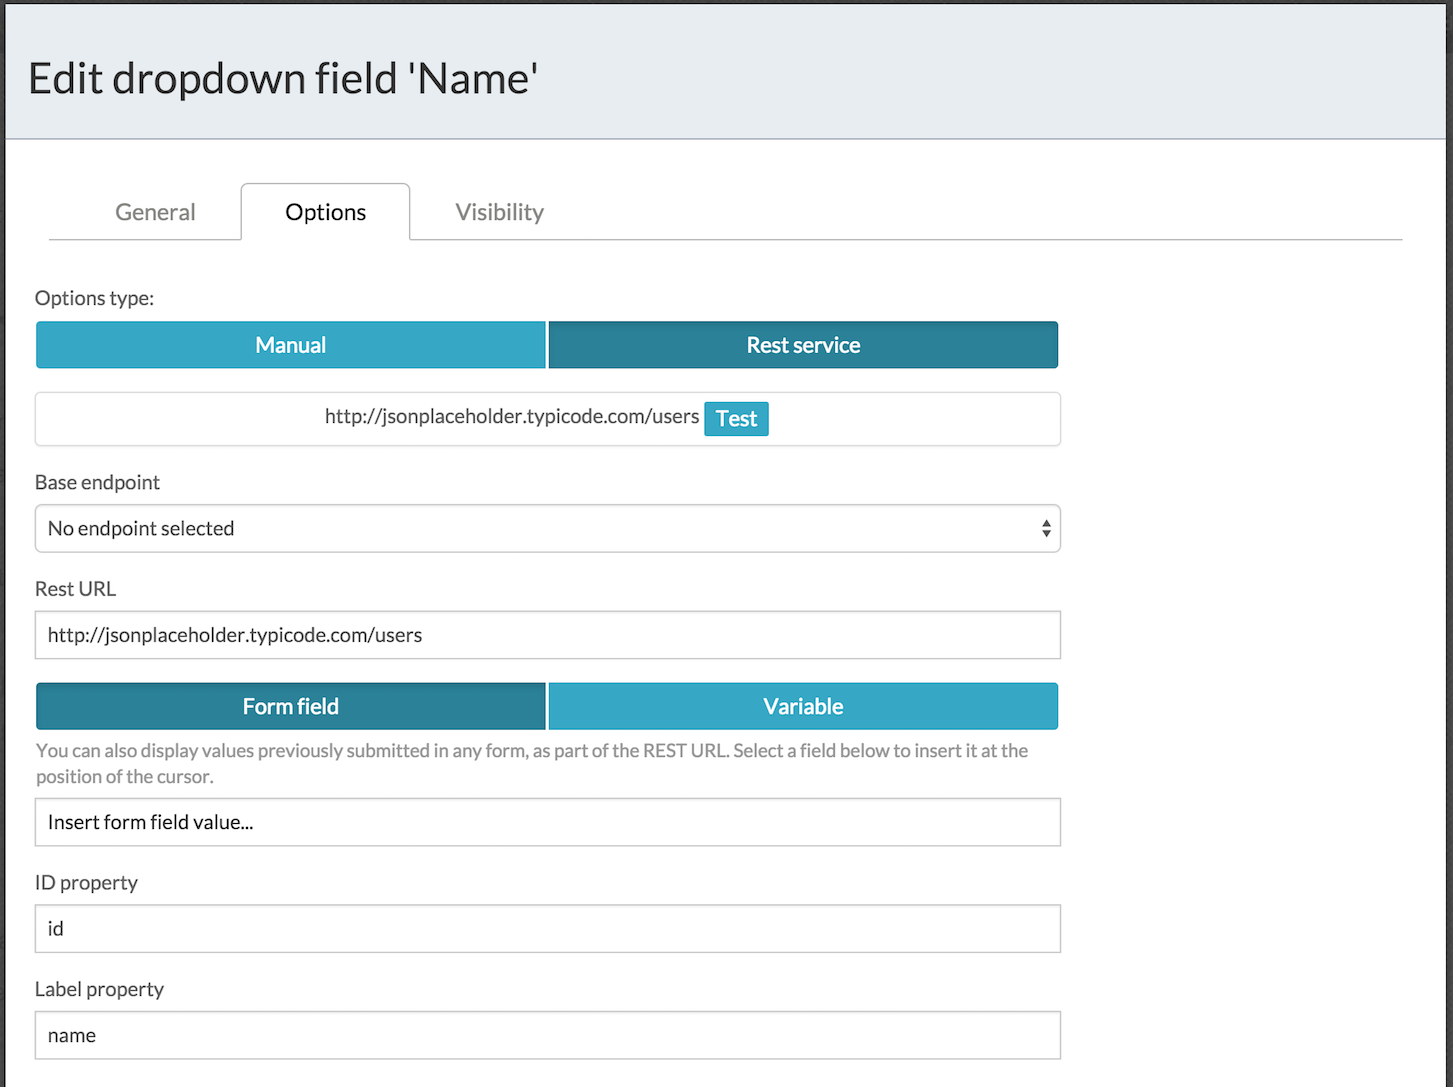
In the form there is just one form field. a dropdown control. Click on the Edit icon to bring up the dialog to configure the dropdown field. The tab we’re interested in is the Options tab; once in there, select the Rest service button to see the configuration for populating the dropdown through the REST call.
For this simple example, we’re using a publicly available REST service that provides some demo data about users (http://jsonplaceholder.typicode.com) Normally, you’d create a standard endpoint as Administrator in the Identity Management > Tenant page, but for this example it’s easier to use a simple URL approach.
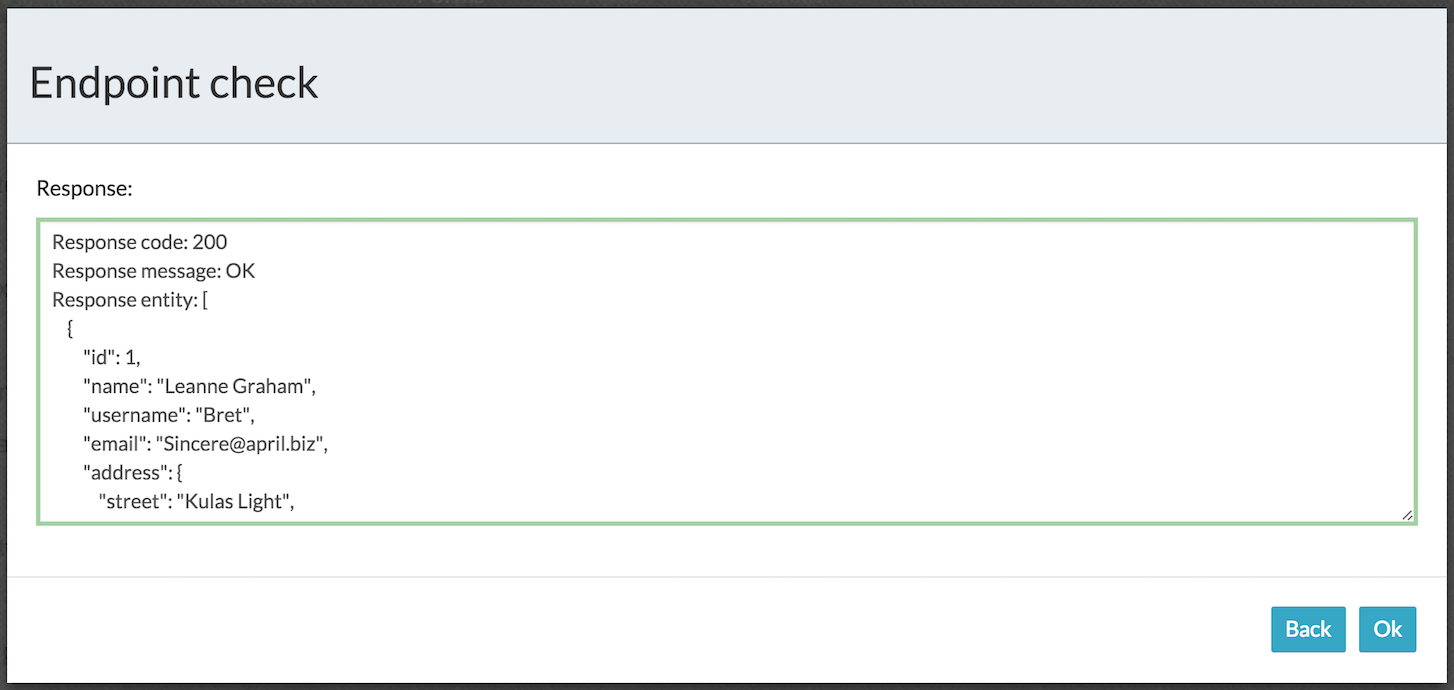
We need to select the JSON properties that get returned into the ID and label variables for the dropdown. The label will be displayed to the user, but to make working with a selected value, an ID for the selected item is also set. This makes it easier to use in later calls or conditions. We can see what the example REST call makes by clicking the Test button.
From the response you can see why we’ve configured the ID property to be ‘id’ and the label property to be ‘name’. Now when the start form is displayed, it will make the REST call, create a dropdown of all the ‘name’ values returned, then set the ID as the field value and the name as the field value label for whatever is selected by the user. Now we’re going to use the selected name in a REST step to get more details on the selected user.
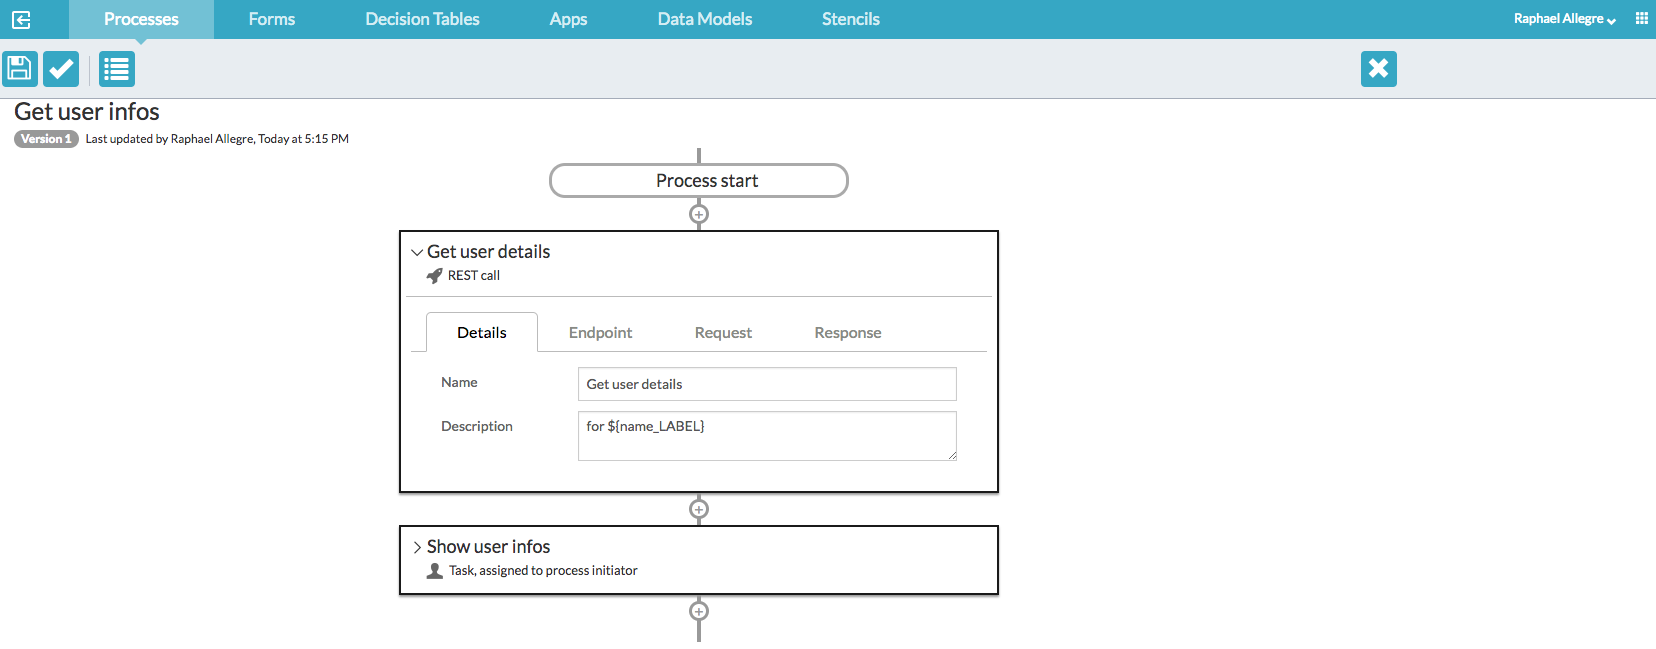
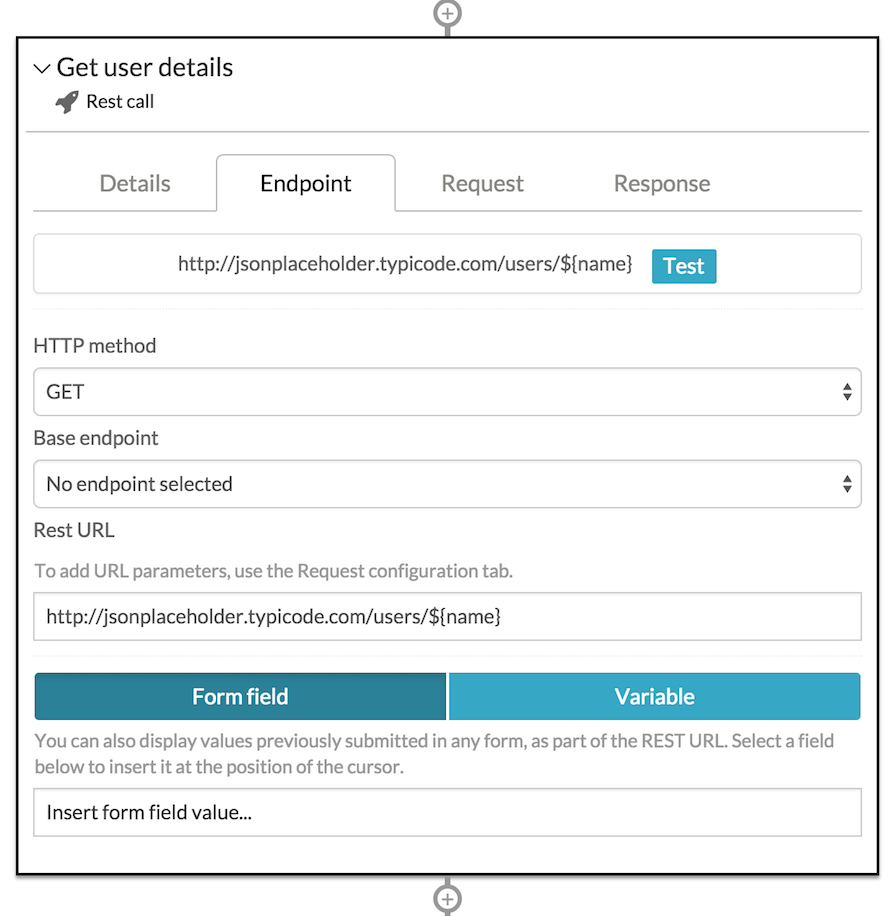
If you look at the Endpoint tab for the REST step, you’ll see something similar to the dropdown configuration we’ve just done. This time there isn’t an ID and Label field to map because we may want to map completely arbitrary data.
We are still working in a simple example, so we’re just using the URL and passing request variable on the URL - in this case, the ‘name’ form field that contains the ID of the selected user. You may prefer to use the Request mapping for more serious use. Next thing is to see how we map data from the response to the call. Click on the Response tab.
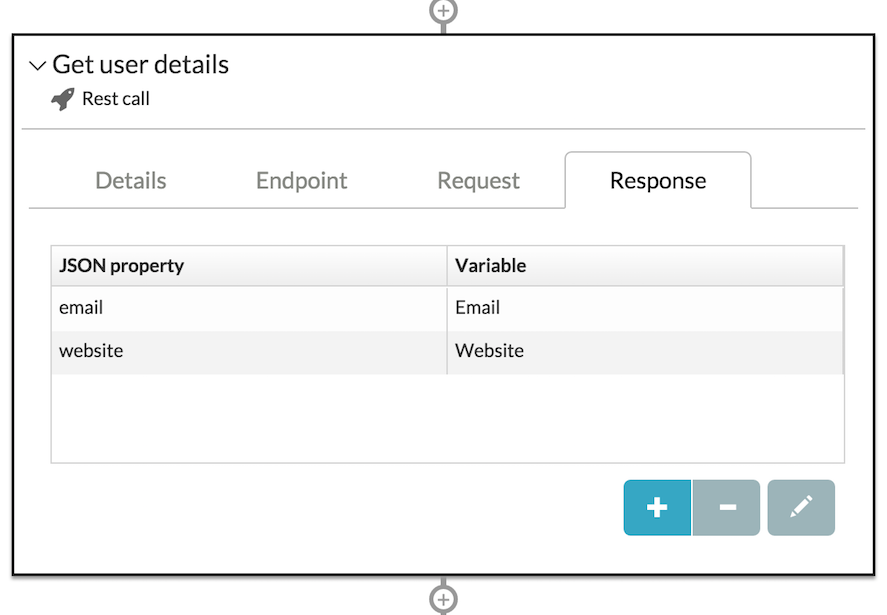
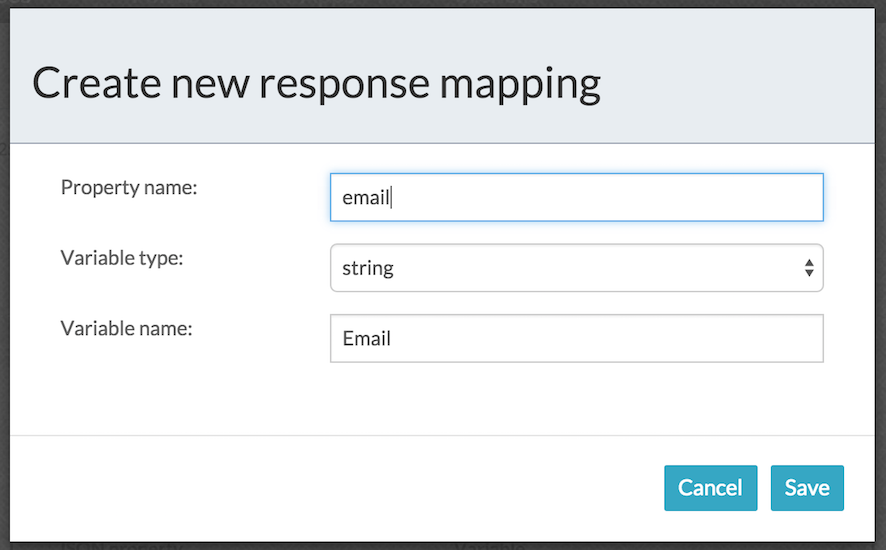
Here you can see we have mapped the JSON property for the user’s email into a process variable ‘Email’. Similarly for their website. Select the email row and click the Edit button and you should see the dialog to configure the JSON and process variable mapping.
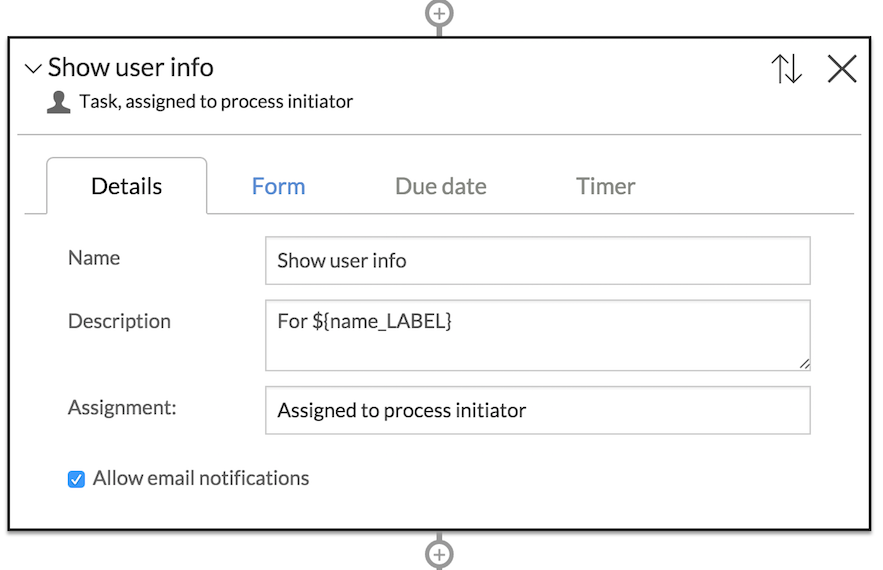
The final step is to show the values we’ve collected, and the easiest way is to create a task with a form displaying the details.
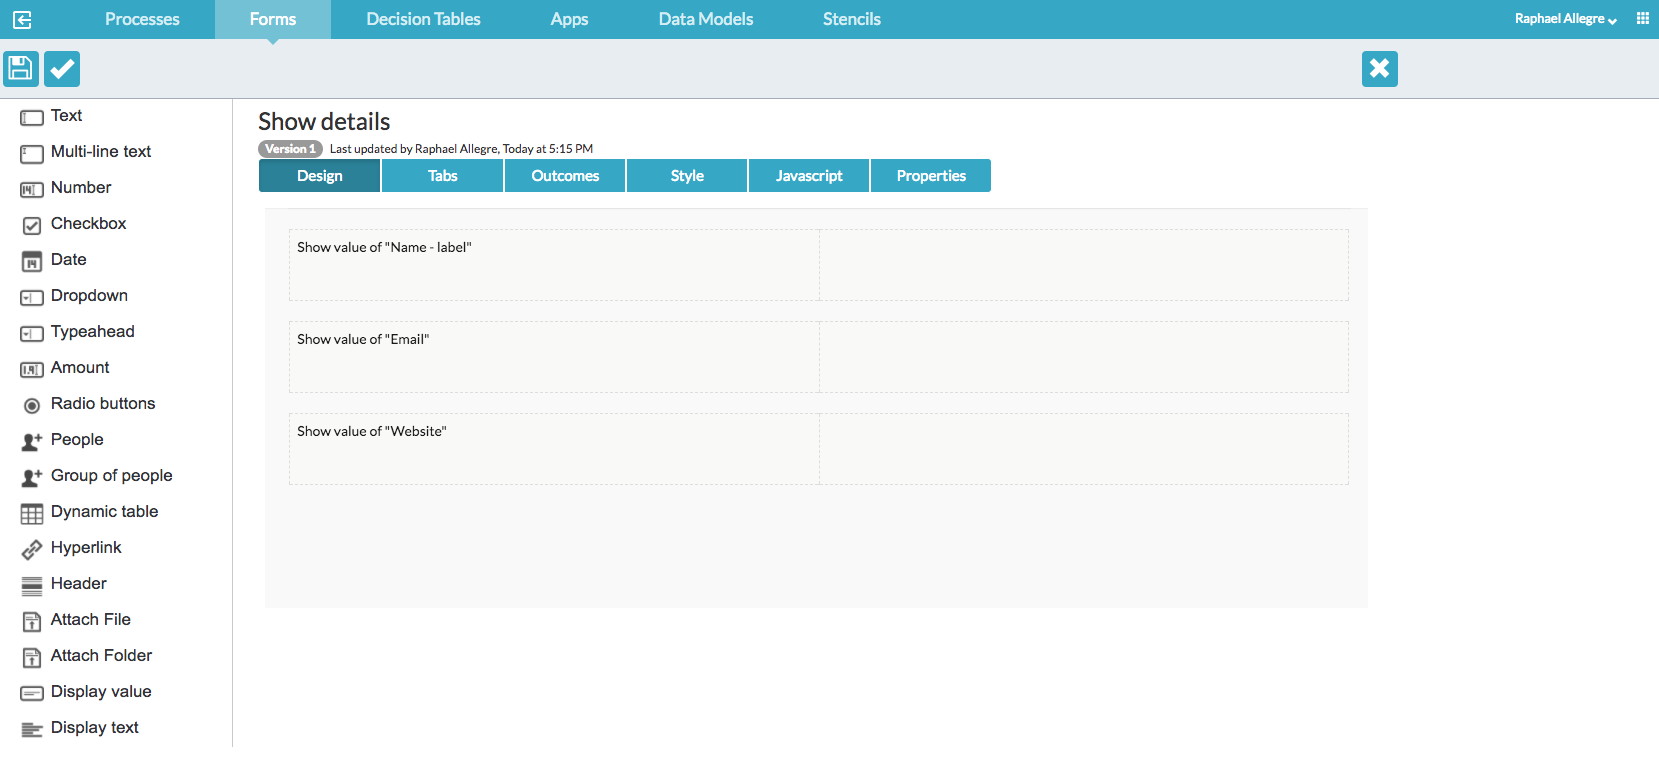
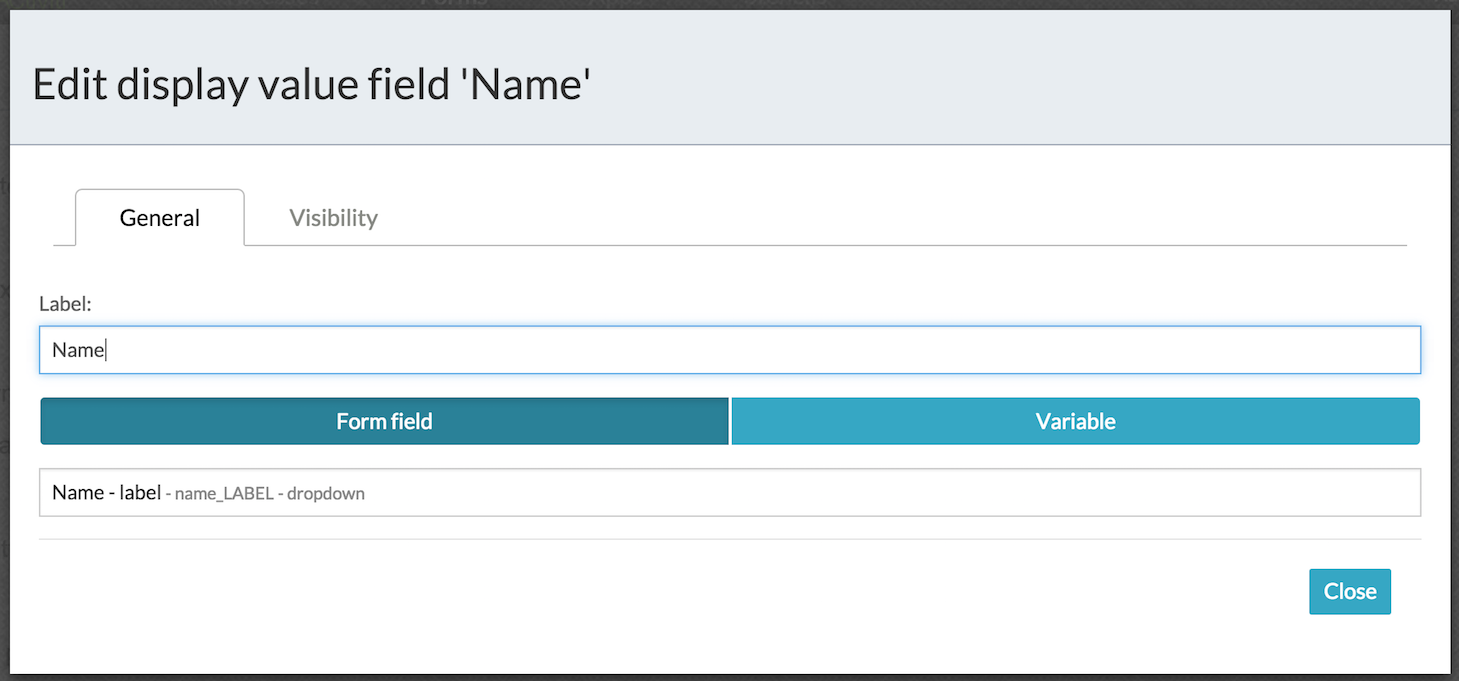
To use display the value of a variable set by a REST call, you need to use the Variable option for Display field, rather than Form field.
Finally, publish the imported Process App and add it to your landing page.
Click on the new App and its Start page to see a single process available with the start form we saw earlier. Click on the dropdown and you will see all the user names returned by the REST call.
Select one and then click Start Process.

The view will switch to the history of the new process, so click the Tasks page to see if you have the results task.
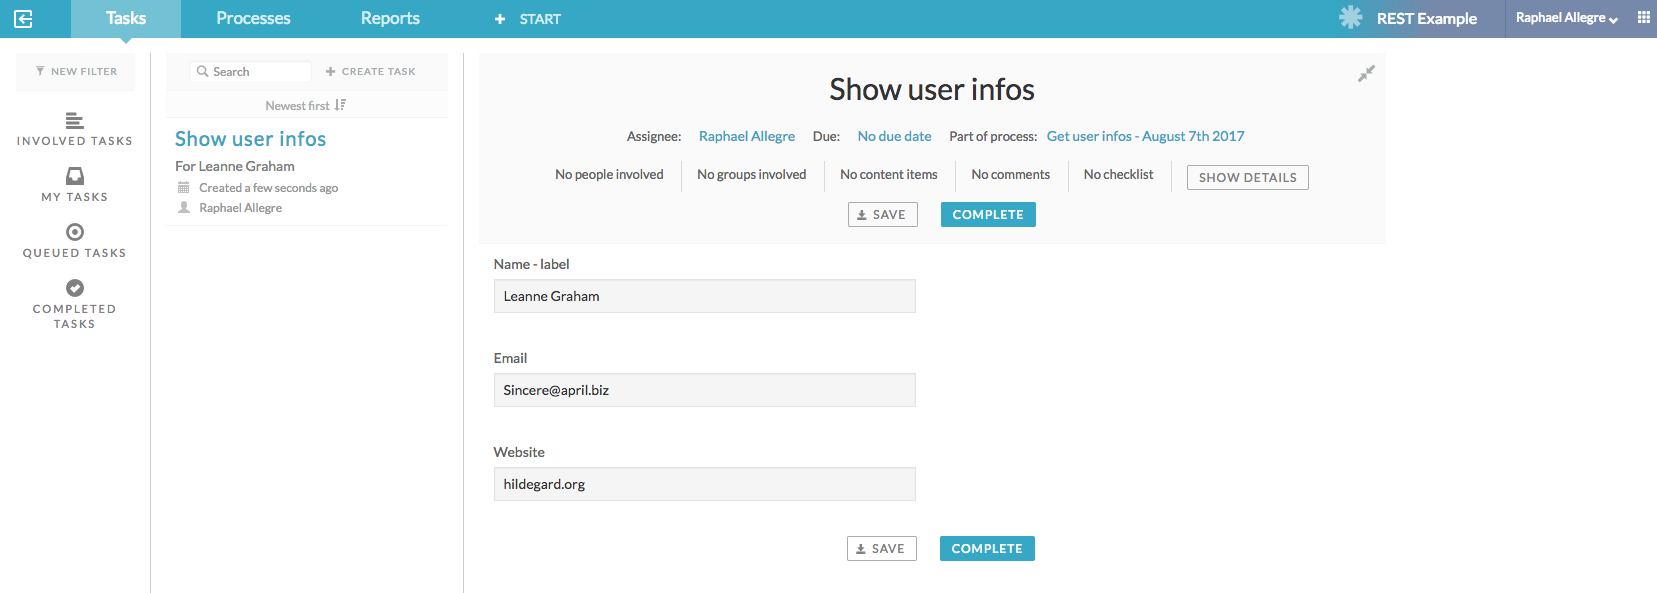
There you have the results of making the REST call based on the user you selected. The demo data that the REST service returns does mean that names and emails do not necessarily match, but you can check by making the REST calls yourself directly in your browser, e.g.
http://jsonplaceholder.typicode.com/users/3
Well, that was a very quick and simple introduction to making REST calls using the REST call task available in Alfresco Process Services. You can also use the BPMN Editor and use a REST Task if you prefer that to the Step Editor. We used a REST Step to get data from another service, but you can use a REST Step or Task to publish data to an external service as well. In forms, you can use REST calls to populate dropdowns, radio buttons and the typeahead (auto-complete) text field.
Now go and create an integration to your own REST services. Better still, do it against a service that might be useful to others and create a blog or video to share it here!
You must be a registered user to add a comment. If you've already registered, sign in. Otherwise, register and sign in.
- Activiti 8 Call activiti and boundary error event in Alfresco Forum
- Safe, Fast, and Flexible: Running Untrusted Code for Alfresco with E2B and Docker in Alfresco Blog
- Alfresco ansible setup issues !! in Alfresco Forum
- Running an Agent Mesh with Alfresco Community in Alfresco Blog
- Implementing Alfresco pdf-toolkit to Alfresco community edition 7.4 in Alfresco Forum
