- Hyland Connect
- Platform
- Alfresco
- Alfresco Blog
- Creating your application with ADF
- Subscribe to RSS Feed
- Mark as New
- Mark as Read
- Bookmark
- Subscribe
- Printer Friendly Page
- Report Inappropriate Content
This content is part of the Alfresco ADF getting started tutorial and describes how to create your Angular application on top of the service layer composed by Alfresco Content Services, Alfresco Process Services powered by Activiti or both. In the following sections we are going to see how to create a brand new application with Alfresco ADF, assuming you went through the prerequisites described in the dedicated content. To reach the goal, we are going to cover the following tasks:
1. Creating the ADF application using the Yeoman Generator.
2. Configuring the Alfresco ADF application to point to the correct service layers, made by Alfresco Content Services, Alfresco Process Services powered by Activiti or both.
3. Describing the user experience of the Alfresco ADF application, once launched.
Below you can find a “step by step” description of each task, very straightforward also if you are not extremely familiar with the technologies.
Creating the ADF application using the Yeoman Generator
Before the creation of your ADF application, let's install the Yeoman Generator and the Alfresco ADF App Generator, running the following commands in a terminal.
npm install -g yo
npm install -g generator-alfresco-adf-app
You will probably need to launch the commands as an admin, using the sudo prefix.
After the generator is correctly installed, run the command below.
yo alfresco-adf-app
The generator will now ask a few questions, mainly the name of your app (in our case we will use myApp) and which blueprint you want to use.
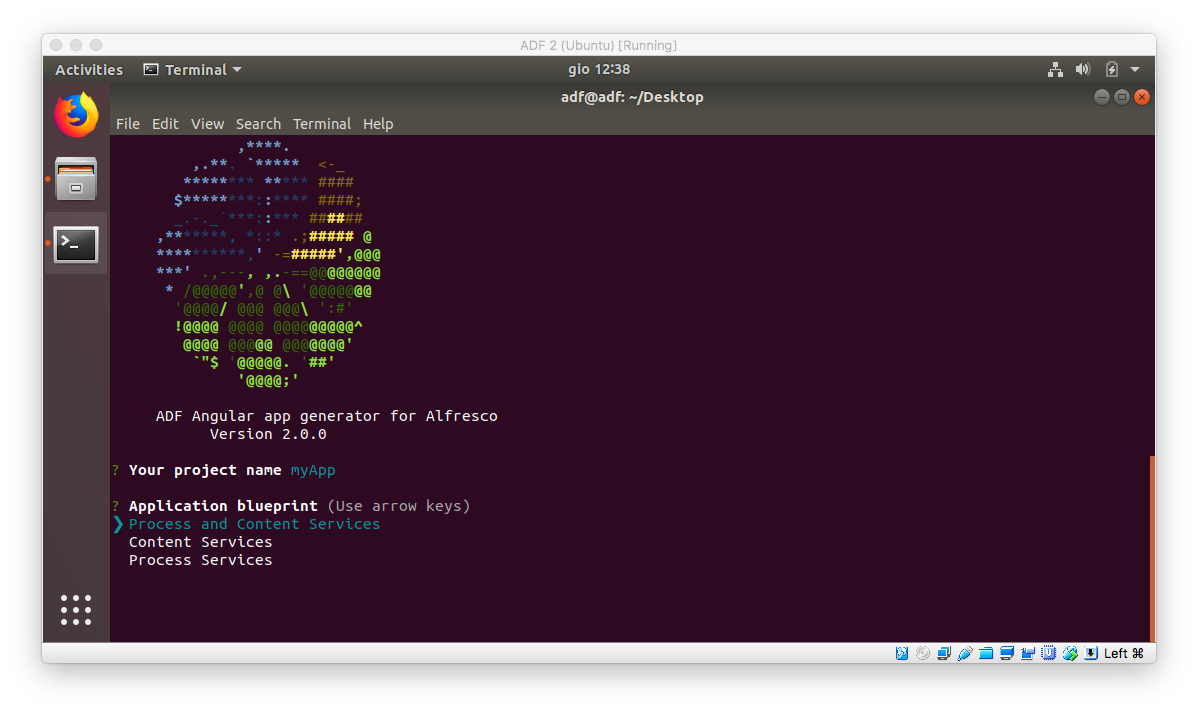
You can select one of three blueprints. To describe them from the bottom up:
Process Services powered by Activiti
This will generate an application for Alfresco Process Services powered by Activiti. It contains the following components: Login, App List, Task List, Form and Start Process.
Content Services
This will generate an application for Alfresco Content Services (or Alfresco Community Edition). It contains the following components: Login, Document List, Viewer.
Process and Content Services
This will generate an application for both Alfresco Process and Content Services and will be a combination of the two blueprints above.
Select the one you want to use, and the generator will now ask if you want to install dependencies right away. Enter "Y" and hit enter.
This can take a minute or two depending on your internet connection. You might see a few warnings at the end like this:
npm notice created a lockfile as package-lock.json. You should commit this file.
npm WARN @angular/flex-layout@2.0.0-beta.10 requires a peer of @angular/core@0.0.0-NG but none is installed. You must install peer dependencies yourself.
npm WARN @angular/flex-layout@2.0.0-beta.10 requires a peer of @angular/common@0.0.0-NG but none is installed. You must install peer dependencies yourself.
npm WARN @angular/material-moment-adapter@5.0.0-rc0 requires a peer of moment@^2.18.1 but none is installed. You must install peer dependencies yourself.
npm WARN codelyzer@3.2.2 requires a peer of @angular/compiler@^2.3.1 || >=4.0.0-beta <5.0.0 but none is installed. You must install peer dependencies yourself.
npm WARN codelyzer@3.2.2 requires a peer of @angular/core@^2.3.1 || >=4.0.0-beta <5.0.0 but none is installed. You must install peer dependencies yourself.
These warnings are normal. Unfortunately they happen within the Angular Flex Layout package that ADF depends on. You can safely ignore them.
Once done, you will find a folder named myApp where you can find all the ADF application already created and completed. What is missing now, is the configuration step described in the following paragraph.
Configuring the Alfresco ADF application
To configure the ADF application, you only need to point on the correct Alfresco Content Services and Alfresco Process Services powered by Activiti. Depending on the blueprint you used during the creation, you might need the Alfresco Content Services only, the Alfresco Process Services powered by Activiti only or both.
To setup the correct back-end services, change into the directory of your app (myApp in our case) and inspect the proxy.conf.json file. This file will tell Angular Webpack to create a proxy for your backend (Content or Process services). Change the URLs and ports to reflect where they are currently running. Below an example of how the proxy.conf.json file should look like.
{
 "/alfresco": {
 "target": "http://localhost:8080",
 "secure": false,
 "changeOrigin": true
 },
 "/activiti-app": {
 "target": "http://localhost:9999",
 "secure": false,
 "changeOrigin": true
 }
}
This is all you need to configure the Alfresco ADF application to use Alfresco Content Services or Alfresco Process Services powered by Activiti.
Using the Alfresco ADF application
Now that you ADF application is correctly configured, start it running the npm start command from a terminal, double checking you are located into the project folder (in our case myApp). The execution of the command takes a couple of seconds and a browser will automatically open at http://localhost:4200/.
As you can see from the user interface, the Alfresco ADF application is really straightforward and basic. This is a precise requirement for this example, because it focuses the attention on the comprehension of the basis, instead of containing complex features that will be part of an intermediate/expert learning path. Below a screenshot of how the home page looks like.
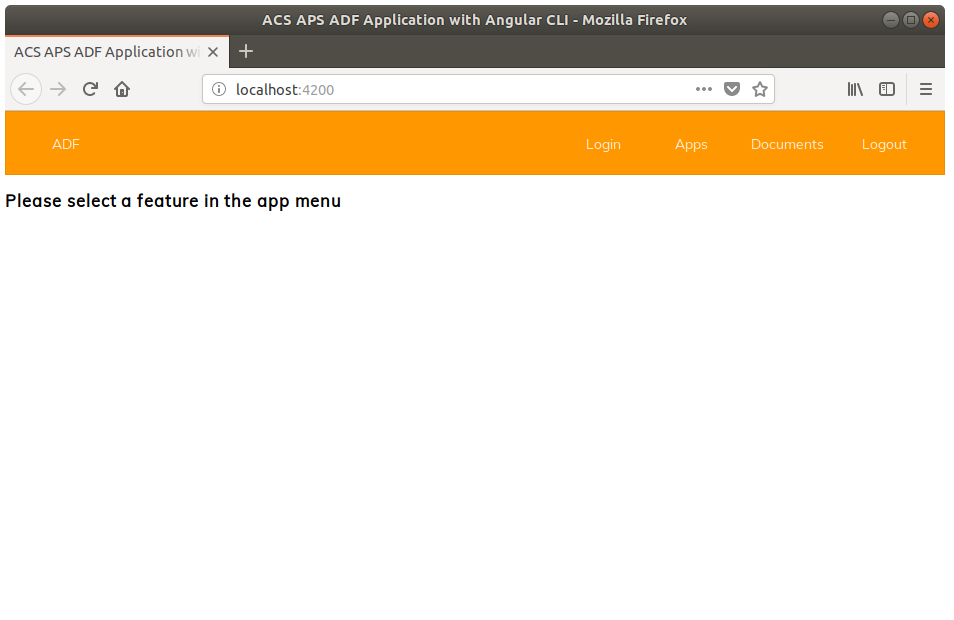
In the following paragraphs we are going to (briefly) describe each component to enable you to their understanding and usage.
The Login component
The Login component requires Alfresco Content Services or Alfresco Process Services powered by Activiti. If you don’t have at least one of them, up and running (and configured as described above in the document), this component doesn’t seems useful and you can ignore it.
The Login component lives in the source code hosted into the <myApp>/src/app/login folder and gets a session in Alfresco Content Services, Alfresco Process Services powered by Activiti or both. Below a screenshot showing how the Login component look like.
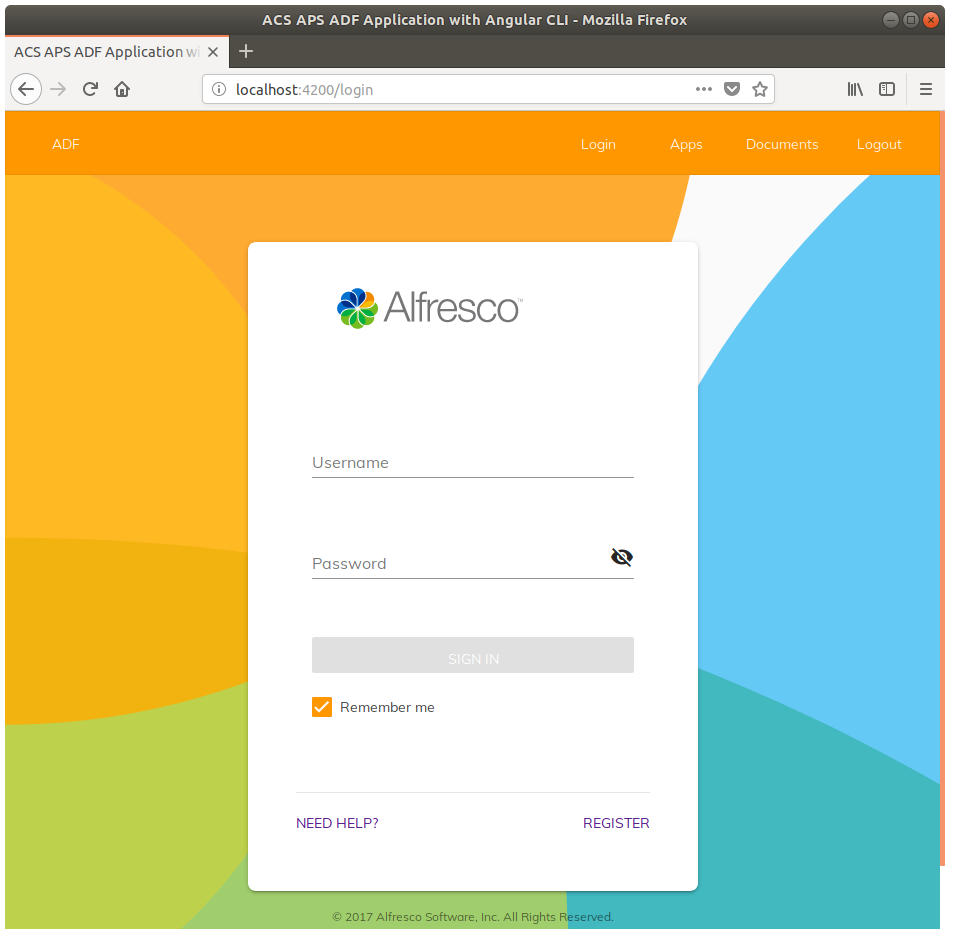
Don’t expect any sort of behaviour, if the login will succeed. The Login component is very basic and nothing is going to happen to the user interface, in this case.
The Apps component
The Apps component requires Alfresco Process Services powered by Activiti up and running and configured as described above in the document. If you don’t have it, this component doesn’t seems useful and you can ignore it.
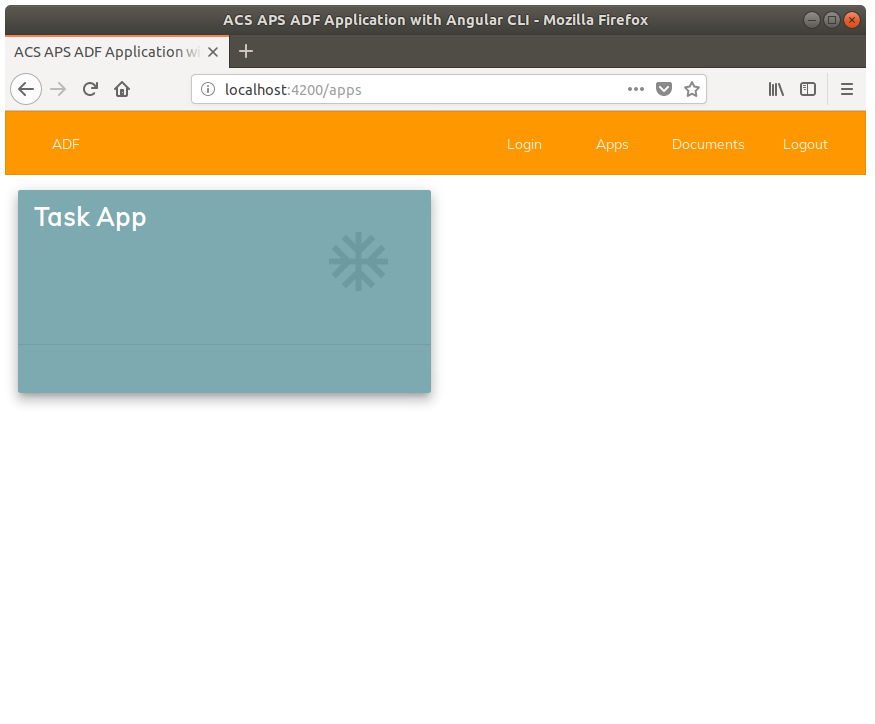
The component shows the available apps on Alfresco Process Services powered by Activiti and, once selected, the task list of open task to manage. Below a screenshot showing how the Apps component look like.
The DocumentList component
The DocumentList component requires Alfresco Content Services up and running and configured as described above in the document. If you don’t have it, this component doesn’t seems useful and you can ignore it.
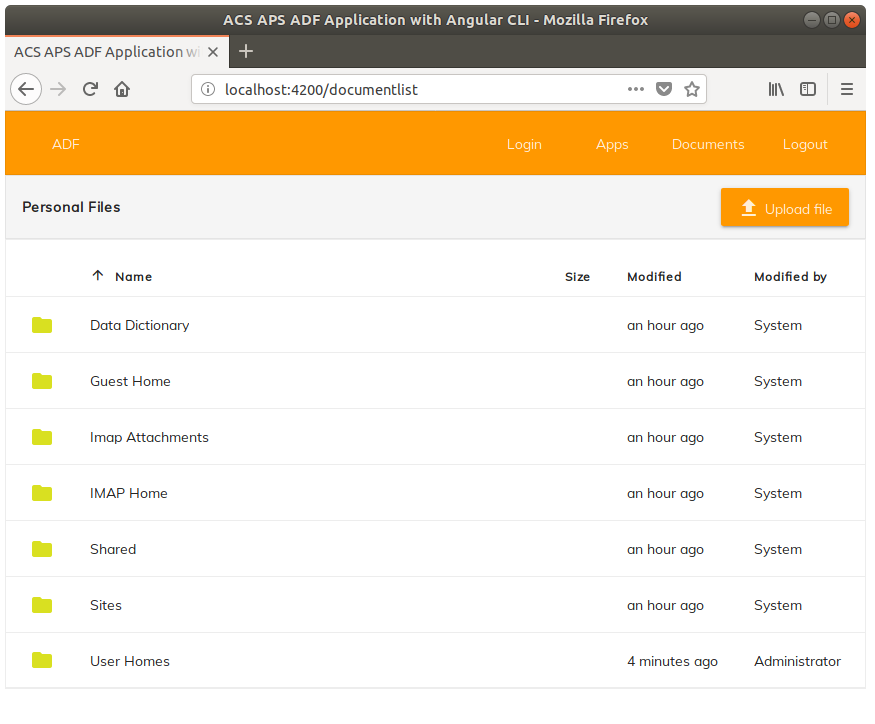
The DocumentList component develops a navigator for the Alfresco Content Repository. The DocumentList component lives in the source code hosted into the <myApp>/src/app/documentlist folder and can show the content only if the login on Alfresco Content Services has been executed with success. Below a screenshot showing how the DocumentList component look like.
You must be a registered user to add a comment. If you've already registered, sign in. Otherwise, register and sign in.
- trying to create folder in docker alresco docker tomcat webapps folder in Alfresco Forum
- Problemas para instalar Alfresco Community Edition 25.3 en windows server 2022 in Alfresco Forum
- Trying to get application to run in Alfresco Forum
- Alfresco Community Edition 25.3 Release Notes in Alfresco Blog
- Alfresco Developer Resources in Alfresco Blog
